News

What to Know Before Installing a Heavy Chandelier
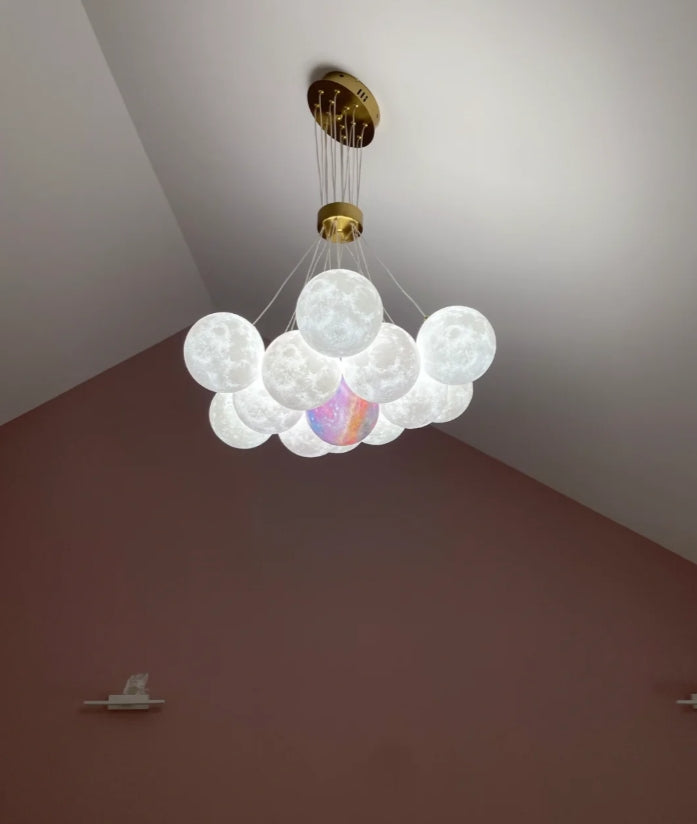
A heavy chandelier can instantly elevate a space, adding drama, elegance, and a strong architectural presence. However, due to its weight and complexity, installing a large or heavy chandelier requires careful planning and preparation. Before installation day arrives, here are the most important things you should know to ensure safety, performance, and long-term stability. 1. Confirm Your Ceiling Can Support the Weight One of the most critical steps before installation is verifying that your ceiling structure can safely support the chandelier. What to Check Ceiling joists or beams must be solid and properly spaced Standard electrical boxes are not designed to support heavy fixtures A reinforced junction box or mounting bracket is often required For chandeliers weighing over 40 lbs (18 kg), professional structural support is strongly recommended. 2. Use the Correct Mounting Hardware Heavy chandeliers require specialized mounting components. Essential Hardware Heavy-duty ceiling mounting plates Reinforced junction boxes rated for chandelier loads Safety cables or secondary support chains Using the correct hardware prevents stress on the electrical wiring and ensures long-term security. 3. Measure Hanging Height & Clearance Carefully Proper positioning is crucial for both safety and aesthetics. Height Guidelines Over dining tables: hang 30–34 inches above the tabletop In open spaces: ensure adequate head clearance For high ceilings: use extension rods or chains designed for weight support Incorrect height can compromise balance and visual impact. 4. Plan the Installation Process in Advance Installing a heavy chandelier is rarely a one-person job. Preparation Tips Confirm whether partial assembly can be done on the ground Identify how many installers are required Prepare ladders, lifts, or scaffolding if needed Review the installation instructions thoroughly before starting Advance planning reduces risk and installation time. 5. Hire a Licensed Professional When Needed While smaller fixtures may be DIY-friendly, heavy chandeliers should typically be installed by professionals. Why Professional Installation Matters Ensures compliance with local electrical codes Reduces risk of injury or ceiling damage Provides proper alignment and load distribution Professional installation protects both your investment and your home. 6. Check Electrical Compatibility & Load Heavy chandeliers often include multiple bulbs, increasing electrical demand. Electrical Considerations Confirm your circuit can handle the total wattage Ensure compatibility with dimmer switches Use recommended bulb types only Improper electrical setup can lead to flickering, overheating, or performance issues. 7. Inspect Before Final Power-On Once installed, conduct a final safety check before turning on the power. Final Inspection Checklist All fasteners are tightened Crystals or glass components are securely attached Wiring is concealed and properly connected Fixture is level and stable This final step ensures long-term peace of mind. Final Thoughts A heavy chandelier is a stunning centerpiece—but only when installed correctly. Taking the time to plan, reinforce, and install with care ensures your chandelier remains secure, functional, and visually striking for years to come. At Casapaces, we design chandeliers that combine artistic presence with structural integrity. If you have questions about installation requirements or need guidance selecting the right fixture for your space, our team is here to help. 📧 Email: support@casapaces.com📞 Phone: +1 (213) 281-7023
Learn more
How to Choose the Right Chandelier for Your Dining Room
The dining room is more than a place to eat—it’s where conversations happen, guests gather, and memories are made. The right chandelier doesn’t just illuminate the table; it defines the atmosphere of the entire space. Choosing the perfect dining room chandelier involves more than just picking a beautiful design. Size, height, style, and lighting quality all play a crucial role. In this guide, we’ll walk you through everything you need to know to make a confident and stylish choice. 1. Start with the Right Size One of the most common mistakes is choosing a chandelier that’s too large or too small for the dining table. How to Choose the Correct Diameter A simple rule of thumb: The chandelier’s width should be about 1/2 to 2/3 the width of your dining table For example: 36" wide table → 18"–24" chandelier 48" wide table → 24"–32" chandelier This ensures visual balance without overwhelming the space. 2. Hang It at the Proper Height Height is just as important as size. A chandelier that hangs too low can block sightlines, while one that’s too high may feel disconnected from the table. Standard Hanging Height Hang the chandelier 30–34 inches above the tabletop for standard 8–9 ft ceilings For higher ceilings: Add 3 inches of height for every additional foot of ceiling height This creates a comfortable, elegant focal point while maintaining functionality. 3. Match the Chandelier Style to Your Dining Room Your chandelier should complement—not compete with—your interior style. Style Guidelines Modern dining rooms: Linear chandeliers, clean silhouettes, minimal detailing Classic or traditional spaces: Crystal chandeliers, curved arms, warm metallic finishes Transitional interiors: A blend of modern forms with classic materials Luxury or formal dining rooms: Statement crystal chandeliers with layered detailing At Casapaces, our collections are designed to enhance a wide range of dining aesthetics while maintaining a refined, timeless look. 4. Consider the Shape of Your Dining Table The shape of your table can guide your chandelier choice: Rectangular or oval tables: Linear chandeliers or elongated designs Round tables: Round or multi-tier chandeliers Square tables: Compact statement chandeliers with balanced proportions Matching shapes helps create harmony and visual flow in the room. 5. Choose the Right Light Output & Bulbs Lighting should feel warm and inviting—never harsh. Recommended Lighting Tips Use warm light (2700K–3000K) for a cozy dining atmosphere Choose dimmable chandeliers to adjust brightness for everyday meals or special occasions Ensure the chandelier provides enough light without overpowering the room Layered lighting—combining the chandelier with wall sconces or accent lighting—adds depth and sophistication. 6. Pay Attention to Materials & Finishes The finish of your chandelier should complement other elements in the room, such as hardware, furniture, or décor accents. Popular choices include: Gold or brass finishes for warmth and elegance Clear or smoked crystal for added brilliance Mixed materials for a modern, curated look High-quality materials not only elevate aesthetics but also ensure long-lasting beauty. 7. Think Beyond Trends While trends can be inspiring, a dining room chandelier is a long-term investment. Choose a piece that feels timeless and versatile—one you’ll love for years to come. A well-chosen chandelier becomes part of your home’s identity, not just a decorative accessory. Final Thoughts The right dining room chandelier balances beauty, proportion, and functionality. By considering size, height, style, and lighting quality, you can transform your dining space into a welcoming and elegant setting. At Casapaces, we believe lighting is an art form—one that brings warmth, character, and refinement to every gathering. If you need personalized recommendations or help selecting the perfect chandelier for your dining room, our team is always happy to assist. 📧 Email: support@casapaces.com📞 Phone: +1 (213) 281-7023
Learn more
How to Clean a Crystal Chandelier: A Complete Care Guide
A crystal chandelier is more than just a lighting fixture—it’s a statement piece that defines the elegance of a space. Over time, dust, grease, and airborne particles can dull its brilliance. With proper care and regular cleaning, your chandelier can maintain its sparkle for years to come. In this guide, we’ll walk you through safe, effective, and professional ways to clean a crystal chandelier, whether it’s installed in a dining room, living room, or grand entryway. Why Regular Chandelier Cleaning Matters Crystal refracts light beautifully—but only when it’s clean. Dust and residue can significantly reduce its shine and light output. Regular cleaning helps: Restore the crystal’s clarity and sparkle Maintain optimal light performance Extend the lifespan of metal and crystal components Preserve the overall luxury appearance of your interior As shown in the image above, the difference between a dusty chandelier and a freshly cleaned one is dramatic. Before You Start: Important Safety Tips Before cleaning your chandelier, always follow these precautions: Turn off the power at the wall switch or circuit breaker Allow bulbs and metal parts to cool completely Place a soft cloth or drop sheet underneath to protect floors Wear cotton or nitrile gloves to avoid fingerprints on crystals If your chandelier is large or installed at a significant height, consider using a sturdy ladder or seeking professional assistance. What You’ll Need Prepare these simple tools before you begin: Microfiber cloths (lint-free) Soft cotton gloves Mild dish soap Warm distilled water Spray bottle Small bowl or container Soft towel for drying Avoid abrasive cleaners, paper towels, or products containing ammonia unless specifically designed for crystal. Step-by-Step: How to Clean a Crystal Chandelier Step 1: Light Dusting (Routine Maintenance) For light dust buildup, gently wipe each crystal with a dry microfiber cloth. This can be done monthly to reduce the need for deep cleaning. Step 2: Prepare a Gentle Cleaning Solution Mix warm distilled water with a small amount of mild dish soap. Pour the solution into a spray bottle or bowl. Distilled water helps prevent water spots and mineral residue on crystal surfaces. Step 3: Clean the Crystals You can choose one of two methods: On-Fixture Cleaning Lightly spray the cleaning solution onto a cloth (not directly onto the chandelier) Gently wipe each crystal piece Immediately dry with a second clean cloth Piece-by-Piece Cleaning (Deep Clean) Carefully remove crystal pendants one at a time Clean them in the solution Rinse with clean distilled water Dry thoroughly before reattaching Take photos beforehand to ensure easy reassembly. Step 4: Polish Metal Components Use a soft, slightly damp cloth to clean metal arms and frames. Dry immediately to prevent moisture damage, especially on gold or brass finishes. Step 5: Final Inspection Once everything is dry and reassembled, restore power and enjoy the renewed brilliance. The chandelier should now reflect light evenly, creating a refined and luxurious atmosphere. How Often Should You Clean a Crystal Chandelier? Light dusting: once a month Deep cleaning: every 6–12 months High-traffic or kitchen-adjacent areas: more frequently as needed When to Consider Professional Cleaning For oversized chandeliers, high ceilings, or antique crystal pieces, professional cleaning services may be the safest option. Experts have specialized tools and experience to protect delicate components. Keep Your Casapaces Chandelier Shining At Casapaces, our crystal chandeliers are crafted to elevate interiors with timeless elegance. Proper care ensures that each piece continues to shine as beautifully as the day it was installed. If you have questions about chandelier maintenance, installation, or choosing the right fixture for your space, our team is always here to help. 📧 Email: support@casapaces.com📞 Phone: +1 (213) 281-7023
Learn more